Migrating websites (especially websites with lots of relatively linked files) can be a difficult proposition. The difficulties can compound depending on your experience with migrating websites and databases and whether or not you have developed the code for the site yourself.
Since we do a lot of site migrations (more often than not with WordPress) I thought it would benefit to show our process and get some feedback on how we might do it better. For this example, we’ll be using a CentOS based server running Cpanel.
Our main tools will be:
1. FTP Client (WinSCP / Fetch)
2. Text Editor/IDE (Notepad++)
3. Cpanel/PHPMyAdmin (For file and database management)
Since we offer this type of hosting, it makes sense to use the tools available to us.
1. Packaging Files
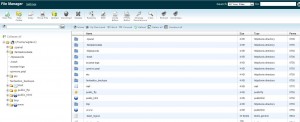
Once you have your site throughly tested and ready to go live, you’ll want to package the files in an archive. To do this, log into your cpanel account and select the file manager.
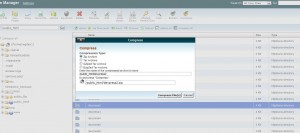
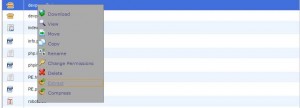
Once you are in the File Manager, find your WordPress directory, select it and click the ‘Archive’ button. We are going to compress and transfer all of the site files (including the WordPress Software, Themes and all Plugins).
The next step is to select a directory to save the compressed archive in. You may leave this as the default suggested by the File Manager, or you can specify a custom location.
Once the archive has been successfully compressed, you may download the file to your local system.
Now it’s time to download the database for your site.
While WordPress does a very good job of exporting using their built-in tools, some data does not export (up until 3.1, Menus were a prime example). Since we have a site we’ve spent a lot of time developing, we want to make sure that we bring over all of our data.
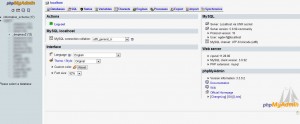
In Cpanel, launch PHPMyAdmin.
From here, you want to select the database which contains your WordPress site’s data (you can find the database name in your wp-config.php file if you are not sure which database houses WordPress).
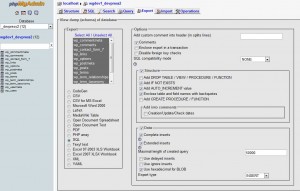
Once you have clicked on the proper database, select the ‘Export’ tab.
You want to make sure that all tables (the automatically highlighted list in the ‘Export’ box on the left) are selected as well as the following options:
Export Type: SQL
Options: Make sure both Structure and Data are checked and that the data is set to the ‘INSERT’ Export type.
Save as File: Checked – You may name this file anything you wish. The default of ‘__DB__’ will simply name the file based upon your database’s current name.
Click ‘go’.
This will begin the download of your database file.
Now you should have:
1. An archive copy of your site files
2. SQL Formatted text file containing your database
2. Changing Relative Links
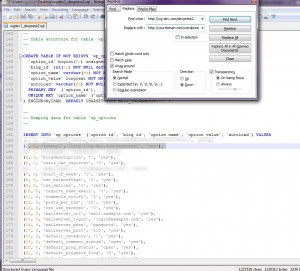
WordPress stores files in a relative fashion based upon a few variables in the WordPress system options. Simply running a find and replace with a text editor or IDE (in this case we used Notepad++) you’ll be able to switch all of the paths to files and the WordPress setup in one fell swoop.
Your find and replace will look something like this:
Find: http://yourcurrentdomain.com/wordpressdirectory
Replace: http://yournewdomain.com/wordpressdirectory
If you installed WordPress in the root directory of the site, you can omit ‘/wordpressdirectory’.
As you can see in the example, we’re changing http://wg-dev.com/devpress2 (our development server) to http://yourdomain.com/wordpressdirectory
Once you have made the replacements, save and close the file.
3. Uploading to Your New Server
By now, you should have a sql file with your database and an archive of your WordPress site.
Assuming now that you have set up a database for your site. If you have not, you can use the Cpanel MySQL database wizard to create it. Please note, you will need the following information to proceed to the next step:
FTP for the new Domain
MySQL Database created for the new site
Login to your new server via FTP and upload your archive to the public_html folder. Once this is completed, you will want to login to your new server’s cpanel account and open the file manager again.
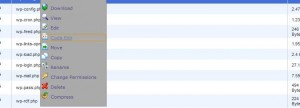
When the process has completed, find your wp-config file, left click and select edit.
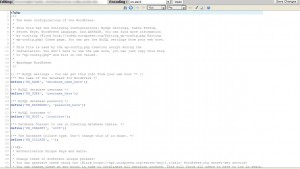
Once you are in the edit screen, you can enter the database information that you just created using the MySQL Wizard.
Once you have completed entering in the database information, click ‘Save Changes’ and close the window.
The final step of the migration is importing your database.
4. Importing the WordPress Database
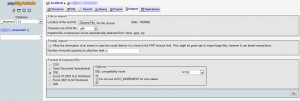
From Cpanel, launch PhpMyAdmin and locate your new database and click on the ‘Import’ Tab.
Click the ‘Select File…’ button, find the sql file of your database and click open. Once the file is loaded, click the ‘Go’ button.
This will automatically import your database and complete the migration. You should be all set!
Congratulations, you’ve successfully migrated your WordPress installation!
If you have any feedback, tips and tricks or just want to lambaste us for our processes please comment below. Don’t forget to Like us on Facebook and Follow Us on Twitter @westongrfx
Image Credit: Chesi – Fotos CC

